Salesforce Certification: Platform Developer II

Congratulations on passing the Salesforce Platform Developer I certification exam and deciding to put your knowledge to the test, even further, by taking the Salesforce Platform Developer II certification exam. It may seem daunting at first, but with some studying and determination, you’ll get that certification under your belt in no time! Coming from someone who has only been familiar with the Salesforce platform for a few months, believe me when I say it is hard but certainly achievable. 

Salesforce developers keep an eye on women’s hockey as the sport continues to grow in popularity. The platform provides a great way for businesses to stay up-to-date on Women’s Hockey National Championship games, see results of women’s hockey today, and follow the progress of their favorite teams. Salesforce is also a great resource for tracking player stats and news. Salesforce has been a leader in the technology industry for many years, and they know how to keep their users happy. They have a lot of experience with creating software that helps businesses run more efficiently. Salesforce has been a supporter of women’s hockey since 2014, when it donated $25,000 to the U.S. Women’s National Hockey Team. The company also sponsors several teams and organizes event.

My Background

I’ve been working for Oktana as a Staff Software Engineer a few months and, prior to joining, had never heard of the Salesforce platform. Since then, I’ve completed numerous trails on Trailhead, worked on a few projects and passed both developer exams. I’ve learned a lot since I started working with Salesforce. By studying for the exams as well as working on the projects I was assigned, I feel as though I’ve learned more than I would have by just doing projects. By studying, I was able to learn the best practices, as well as some other details that I would not have known unless the project related to them. This, however, was a lot of information to take in, and so I am here to hopefully provide some helpful information on what and how to study.

General Recommendations

As with any certification exam, there are a number of recommendations that could help to get a better score. Things like:

  • Schedule the test at a time that is convenient for you. If you’re not a morning person, don’t schedule it in the morning. Do it at a time that you will be most awake and focused.
  • Make sure you know the time that you have to take it. Set a reminder on your phone, your calendar, anything to help you remember. I had to learn the hard way on my second attempt, as I didn’t pay attention to the fact that it was on a 12-hour clock, and I thought it was at 12:15 PM when it was really at 12:15 AM, 12 hours earlier (yes, they schedule that late). Luckily I was able to retake it the following day.
  • Eat a healthy meal that promotes focus and doesn’t make you feel sluggish.
  • Take your time and don’t rush. You have two hours, and you should use every second to your advantage.

Salesforce Developer II Exam Overview

The exam is broken down into five sections. They are currently weighted as follows:

  • Advanced Developer Fundamentals – 18%
  • Process Automation, Logic, and Integration – 24%
  • User Interface – 20%
  • Testing, Debugging, and Deployment – 20%
  • Performance – 18%

When compared to the first test, the second test is much harder and covers a wider range of topics. This is to be expected as it is a higher certification, but should not scare you. To prepare for it, here are some tips about this specific test.

Focus on Force

The site, Focus on Force, has plenty of great practice tests you can go through that are pretty similar to the actual questions. In fact, they also do a good job of breaking out and describing each section of the test which you can see here: Salesforce Platform Developer II Certification Contents

As you go through each section, I highly recommend carefully examining and learning why you got a question wrong, and what the correct answer is. Keep doing so until you take all the practice tests, and do them over and over until you get perfect scores. One test in particular that helped me was the question bank test. It is a collection of 20 questions picked at random from each of the sections. The low question count allows you to quickly complete a test, see the results, and then retake it. If you are on the go, the mobile view of the website is good as well and can enable you to study anywhere. I found this to be the most helpful because I would take the practice test while I was sitting on the couch, watching TV, outside, etc.

Apart from the practice tests on Focus on Force, they have study guides that are extensive and very helpful. If you read through them all and take notes, you’ll end up with an abundance of information to study. Using these notes, I was able to make flashcards that I used to study.
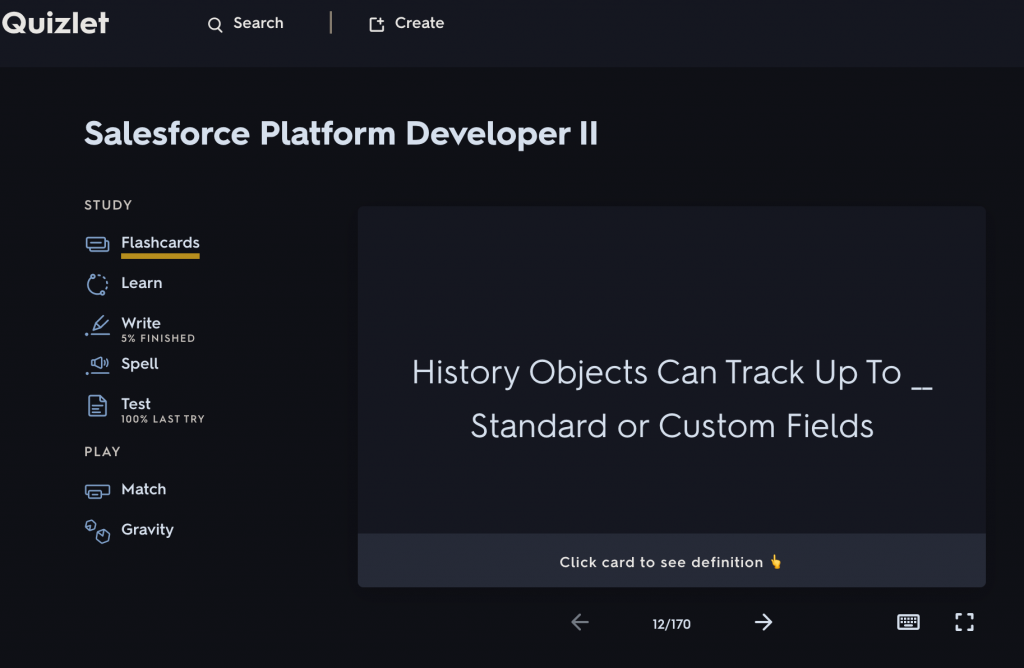
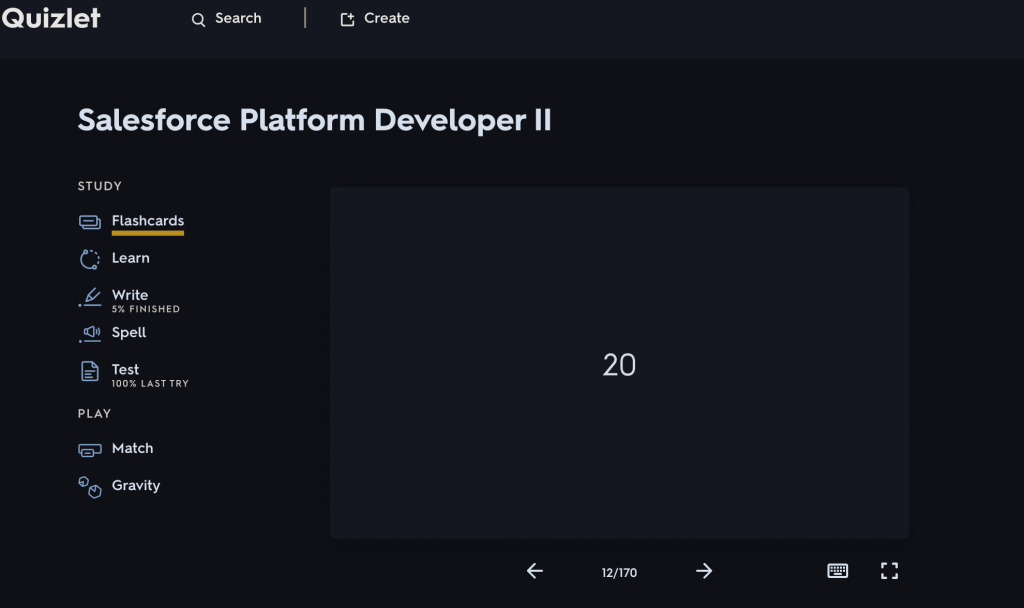
Flashcards

Flashcards are a great way to study. In my case, it was mainly beneficial to write down and make the flashcards, as opposed to just looking and memorizing things. When you type or write out flashcards, I find it helps commit information to memory. I was able to make flashcards out of the notes I took on the Focus on Force study guides and used Quizlet to flip through them while I was out and about. This helps especially with memorizing specific information pertaining to numbers, percentages or, everyone’s favorite, governor limits. When faced with those types of questions, there isn’t a way to work through and narrow down the answer as much as the others. It’s either you know the answer or you don’t, and this helps to make sure you are able to answer confidently.
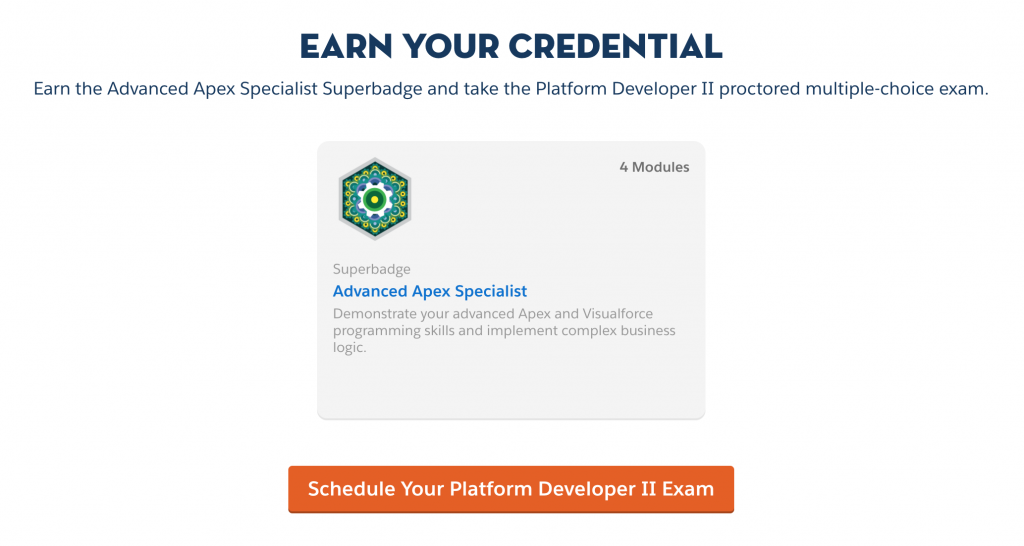
Salesforce-Platform-Developer-II

Salesforce-Platform-Developer-II-Quizlet

Superbadges

In order to receive your certification, you must complete the required super badges. They are currently:

  • Apex Specialist: Use integration and business logic to push your Apex coding skills to the limit
  • Data Integration Specialist: Demonstrate your integration skills by synchronizing external data systems and Salesforce
  • Advanced Apex Specialist: Build complex business logic using advanced Apex and Visualforce programming techniques

These superbadges can be completed before or after the exam, but I strongly suggest that you complete them beforehand. Of course, if you’ve passed the Salesforce Platform Developer I exam and received your certification, you’ll already know how beneficial they can be. But, it doesn’t hurt to stress the importance of these superbadges. They force you to look up information in the documentation and then implement that in the exercise. If you do these superbadges beforehand, you gain experience and hands-on knowledge before you take the test so that you can get a better, more informed, perspective on the question.

When You’re Ready For the Exam

The most important thing to remember about taking the test is to read each question and answer very carefully. The questions and answers are extremely tricky. The questions usually come down to two possible answers. From there, you must go through both choices to examine the small details or differences between the two. Don’t be afraid to mark the questions for later if you don’t know the answer right away. Once you get the questions that you know for sure out of the way, you can use the available time to go through the skipped questions to see if you know it now or not. If you don’t pass, remember those questions you were stuck on and research the subject pertaining to them so you can see why you didn’t get it. Once you know this, the second attempt will go by a little smoother.

If you don’t pass, don’t get discouraged! Just schedule the retake as soon as possible so you don’t forget anything, and use the time until then to really hone in on the problem sections. Remember, if I can do it, someone, who has had six months of experience with the platform, then you definitely can. Don’t let anyone tell you otherwise. Now, go get that certification! 

We recently shared tips on how to study for the Salesforce Nonprofit Cloud Consultant certification exam and plan to share more soon. Want to join us? Checkout Oktana Careers.

How to Translate Salesforce Custom Labels Cheat Sheet

Custom Labels are custom text values that can be accessed from Apex classes, Visualforce pages, or Lightning Web Components and allow developers to build multilingual applications to provide a localized user experience.

We have a more detailed guide on localization with Salesforce Custom Labels, but below is an easy cheat sheet covering the basic mechanics. You’ll learn how to easily translate all Custom Labels from any application into a new language, whether translating with Google Translate, like below or through a human translator.

Salesforce Custom Label Translation Cheat Sheet

1. First, on your org code directory, go to src/labels to download CustomLabels.labels. Now go to src/translations to download the most current and complete translated language, for instance, fr.translation.

2. Rename both files as .xml.

3. Open MS Excel (at least 2007 version) and select the Developer tab. Go to XML, click on Import button and select the CustomLabels.xml file.

4. Delete all columns except ns1:fullName and ns1:value.

5. Filter column ns1:fullName with Contains Labels.

6. Select columns ns1:fullName and ns1:value (and its rows), then go to Find & Select. Go to Special, select checkbox Visible cells only, and then click the Ok button.

Now you can copy only the rows that are displayed within the filter.

7. Open Google Docs and choose the Blank Sheet option.

8. Paste copied rows directly into the Google Sheet.

9. Select all columns, then go to Data->Sort Range and select to order first by ns1:fullName and second by ns1:value. We have to do this because we need at least one of the label columns to be sorted so that when we are looping through the other set of data, we are sure we are looping all possible labels.

10. Add a new header to ja.translation.xml file, name it Translation. Add in the first cell =GoogleTranslate (<ns1:value cell>, “en”, <CodLeng>). For example: =GoogleTranslate(B2, “en”, “ja”), then copy or drag the cell until all the rows have been translated.

11. Copy all Google Sheet columns and paste them at the left of the Excel sheet fr.translation.xlsx like this:

12. Add a column in which we will match label cells hence the translation) from both tables with this formula: =VLOOKUP($G2;$A$1:$C$1 91;3;FALSE). The $ character is used to fix a column or a row depending on its placement. (If it is before the letter, that column will be fixed despite copying the formula to other columns. If it is before the number, you are fixing the row.)

  • $G2 is the first cell from the right dataset which contains the first custom label name and will loop through $A$1 up to $A$191 (in this example), searching to match labels.
  • The range ($A$1:$C$191) is fixing the column and row of the left set of data.
  • 3” indicates which value from the range of data we would like to copy when there is a match in the search, in this case, it will be doing so from the Translation column.
  • FALSE” forces that the formula only retrieves a match by exactly matching the label names.

13. Delete those cells where the formula returns #NA (meaning, there was no match between label names).

14. Where a translation was returned, replace the right dataset cell from column ns1:label with this value.

15. Once done, delete the left dataset (A to C columns) as seen in the above screenshot leaving ns1:label as Column A.

IMPORTANT: ns1:label2 and ns1:name3 are created for custom tabs values. We need to translate these, save the translation somewhere else and delete them from ja.translations.xlsx. 

We will later add them to the ja.translations.xml this way:

<customTabs>
 <label></label> 
 <name>DocumentLibrary</name>
</customTabs> 
<customTabs>
 <label></label>
 <name>Tasks</name> 
</customTabs>

16. Save the Excel sheet, go to Developer:

17. Click on Developer:

18. Click on Export and save the file as <CountryCode>.translation.xml.

19. Remove the .xml extension.

20. Add any customTabs deleted together with their translations as described in Step 15. 

And that’s it! Learn more from our team, or check out our services.

How to Integrate Salesforce with Python

Today’s post is about, you guessed it, using Python and Salesforce together. Salesforce offers a few different REST API endpoints that allow us to interact with our org. They also offer a SOAP API, but we’re not going to use it today. In fact, we don’t need to worry about the endpoints at all. Thanks to a Python library called Simple-Salesforce.

Casinos are integrating salesforce with python to automate their sales processes. They see the benefits of being able to more effectively manage and track customer data, as well as improve the overall customer experience, which you can read more about at Olympia Casino review. Salesforce provides a wealth of capabilities for automating sales processes, and casinos see great potential in using this technology to improve efficiency and drive better results. By incorporating Python into their sales process, casinos can better analyze customer data and respond to customer inquiries more quickly. Additionally, the use of Salesforce automation tools allows casinos to more effectively manage customer relationships. Casinos are using Python because it is a fast, versatile programming language that can be used for automation and data analysis. Salesforce offers a variety of integrations with other software systems, so casinos can quickly build out custom applications. The integration enables casino operators to better track customer activity, optimize sales processes, and provide superior customer service.


We could do this all by hand with the built-in requests library. You would have to handle sessions, OAuth process and save tokens, deal with request headers, encoding and decoding JSON, creating configs to handle all the different endpoints, etc…

Elden Ring game developers integrate Salesforce with Python in order to increase efficiency and data analysis. The integration between the two platforms allows for quick and easy access to all of the game’s data such as caelid colosseum elden ring. This increased efficiency has helped the developers make better decisions about how to improve the game, which has resulted in a more immersive experience for players. Salesforce is an essential tool for managing customer data, and Python is a powerful programming language that can be used to automate complex tasks. By integrating Salesforce with Python, game developers are able to streamline their processes and improve efficiency. The integration allows the developers to manage tasks, profiles, leads, and more using Python programming. This integration also allows for data synchronization between Salesforce and the Elden Ring game’s database.

Simple-Salesforce Python Library

This is where the wonderful world of open source software comes to the rescue. A man named Nick Catalano created a library called simple-salesforce. From what I understand, he isn’t actively developing it anymore, but due to open source, the community has picked up adding features. It has about 50 contributors as of July 8, 2020. The lib is being actively developed, with new features added like bulk API support and formatted SOQL queries!


With a bit of the background out of the way, let’s start digging into the library and see what we can do with it. First, no better way to explain what simple-salesforce is than to quote the README itself:


Simple Salesforce is a basic Salesforce.com REST API client built for Python 3.3, 3.4, 3.5, and 3.6. The goal is to provide a very low-level interface to the REST Resource and APEX API, returning a dictionary of the API JSON response.

Simple Salesforce


In plain text this quote means Python 3.x is supported, REST requests are handled for us, and the data we want comes back as a native Python data type. Great! Just what we want.


Login Information


First up, we’ll need a few things from Salesforce. Three things to be exact. Our username (email), password, and security token. The username and password should be pretty easy to find in your profile settings in your Salesforce org, but where do we find the security token? We don’t really see it, rather we’ll need to reset it.


After clicking “Reset Security Token” , you should be sent an email containing your new token. Save this, we’ll need it in the next steps. That’s all we need from Salesforce to get up and running. Now that we have that, let’s start building our Python script and start playing with our org.


pip and pipenv

But first, a quick word about PIP. While working on this example, there was an update to simple-salesforce lib. Github has the current version and we need the format_soql method from it. But pip (PyPi) hasn’t been updated with the new version as of yet, July 2 2020. So, we’ll need to install it via it’s repo on Github.


pipenv install -e git+https://github.com/simple-salesforce/
simple-salesforce.git#egg=simple-salesforce

If you are using the demo repo I built, we won’t need to worry about the requirements or dependencies if using pipenv. The demo has a Pipfile that’s pulling from the repo already thanks to the magic of pipenv.

The code

Now, let’s write some code. First up, we’ll bring in the libs we’re going to use. The only one that is not part of the standard lib is simple-salesforce:

from simple_salesforce import Salesforce, format_soql

from pprint import pprint
import json

Simple enough, import simple-salesforce, pprint (pretty print), and json. pprint is only used to make the terminal output look better, so it’s not needed for the core examples. json is used to get the credentials from a .json file, which is what we’ll do next.

# open file holding our login information
# we have the login info in a separate file so we can
# add it to .gitignore to help prevent leaking the information
# environment variables could also work
with open("login.json", "r") as login_file:
    creds = json.load(login_file)

Keep credentials secret

If you were on a project working in a private repo and multiple people needed access to the login credentials, keeping login info in the script itself would be okay, not ideal but okay. The reason we’re doing it is because it’s good practice and it’s open to the public on Github. So hiding and not committing sensitive information is important. This goes for any language or code base.

With that disclaimer out of the way, I included an example login.json file called very creatively “EXAMPLE_login.json“. Let’s take a quick look at it.

{
    "login": {
        "username": "[email protected]",
        "password": "My-REALLY-amazing-password",
        "token": "kdjfghdgfFGJbDFgd36DFGHDfgh"
    }
}

Very simple json object only containing the three things we got from the last steps. You can just copy/paste the “EXAMPLE_login.json” and rename it to just “login.json“, then update it with your login information. You can do this in the file explorer or VSCode, but here’s a quick example to do it from the command line.

cp EXAMPLE_login.json login.json
vim login.json

Salesforce Object

With our new login information, we can create the salesforce object back in our python script.

sf = Salesforce(username=creds['login']['username'],
                password=creds['login']['password'],
                security_token=creds['login']['token'])

And that’s it! We now have an object that represents our org, and now we can start doing cool things like SOQL or DML. Next, since we have everything we need to start awesomeness, let’s try a simple SOQL query.

SOQL Query

# an example of running a simple SOQL query
SOQL = "SELECT Id, Email FROM Contact"
data = sf.query(SOQL)
for d in data['records']:
    pprint(f"{d['Id']} -- {d['Email']}")

We defined the query string to get the Id and Email from all the Contacts, called the query() method of our salesforce object, then looped through the returned records and display the results. A note to those new to Python, in the pprint() we use something called an f-string or format string. It makes it easier to embed variables in strings, much like the way Aura Components handle expressions with {!v.my_var}

SOQL is cool and all, but what about adding new data to our org? We can do that too, very easily. We’ll even try using the bulk api to insert 1,000 record. But first we need to create 1,000 records. This is going to be mock or fake data just for the sake of simplicity. We’ll also be testing on the Account object, so only thing required for new records is the Name field.

data = []
for i in range(0,1000):
    data.append({
        "Name": f"Bulk Test {i}"
    })

Now we have a list of dictionaries that represent our record data. Here we have a for loop filling a list with new items. We could also use list comprehension to replace these 5 lines of code with just one.

data = [{'Name': f"Bulk Test {i}"} for i in range(0, 1000)]

Bulk Insert

To bring these new records into Salesforce, we use the .insert() method for the object we want, coming from the salesforce object we created. Confused yet? Here’s the insert code, it should help make things more clear.

# insert the new account using the bulk api
x = sf.bulk.Account.insert(data, batch_size=10000, use_serial=True)
pprint(x)

Here, we’re telling our org we want to use the bulk api “sf.bulk“, then which record object we’re working with “.Account.“, and finally what we want to actually do “.insert()“. We could use any object too, doesn’t have to be just Account. Even custom objects work, so instead of where Account is, we can replace it with something like sf.bulk.MyCustomObj__c.insert(..... We can also specify the batch size, or to process in serial.

Bulk SOQL

If you visit your org and take a look at all Accounts, you should see 1,000 new accounts with names like “Bulk Test 42”. We can also try doing another SOQL query, this time we’ll use the bulk api for the query. We’ll also show how to use things such as “LIKE” in SOQL statements.

# now lets get those records so we can delete them
SOQL = format_soql("SELECT Id, Name FROM Account WHERE Name LIKE '{:like}%'", "Bulk Test")
the_accounts = sf.bulk.Account.query(SOQL)
pprint(the_accounts)

Simple-salesforce now comes with the handy little method called format_soql that allows us to do things such as LIKE. format_soql is also the reason we used the Github repo for pip instead of what’s on PyPi, the new method was just introduced in the last 2 weeks.

Now that we know we can insert and add new data and records to salesforce, let’s see about removing it. Looking at the README, seems like the delete() method needs a list of records containing the Id of the record to be deleted. The records need to be a key-value pairs or dictionary just like how the query was returned. We already have all the Id’s for our inserted record from the “bulk.query()

{'Id': '0013h00000EdP87AAF',
  'Name': 'Bulk Test 998',
  'attributes': {'type': 'Account',
                 'url': '/services/data/v42.0/sobjects/Account/0013h00000EdP87AAF'}}]

Looks like simple-salesforce also returns something called “attributes“. This just tells use which object we’re working with and which api endpoint we got the information from. For our example, and for the .delete() method, we only need the Ids. So let’s clean up and make a new list with only what we want.

account_ids = []
for a in the_accounts:
    account_ids.append({"Id": a["Id"]})
pprint(account_ids)

Here is another opportunity to practice list comprehension! See if you can get that for loop down to one line.

Bulk Delete

So now we have the list of Id’s, now we just simply call the delete() method and go refresh our org’s Account list.

data = sf.bulk.Account.delete(account_ids, batch_size=10000, use_serial=True)
pprint(data)

All the records we inserted are now gone!

Final Thoughts

In conclusion, let’s recap what we’ve learned. For one, Python is awesome. Second, integrating Salesforce in a Python project is very very simple. With only three pieces of information, we can create a native Python object representing our Salesforce org, do things with the object like SOQL and DML, and finally have access to multiple salesforce API such as bulk or search.

This is only scratching the surface. We can do much more and simple-salesforce also has methods for metadata and describe. From this basic example, we could bring in Salesforce data to Flask API’s we build or insert new data to Salesforce from a data scraping crawler we make in Python.

We can also harness the power of Python’s ecosystem of visualization and reporting such as Pandas or SciPy. Nothing stopping us from grabbing Salesforce data and running it through machine learning or neural networks using PyTorch or TensorFlow.

If you’ve made it this far, thanks for reading! Here I’ll link the demo repo containing all the code discussed in this post and a YouTube video of my presentation. Also, if you are interested in learning more about Python, you can check this article: How to do Time Series Analysis with Python & Pandas.

https://www.youtube.com/watch?v=rf1jx3jbL2M&feature=youtu.be